Log in to our PROJECT MANAGER to view your project documents, progress,
timeline, communication log, and more…
Orange Innovation Services
Different By Definition
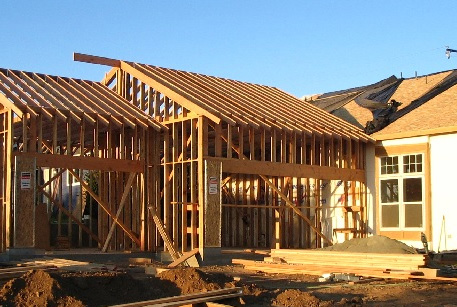
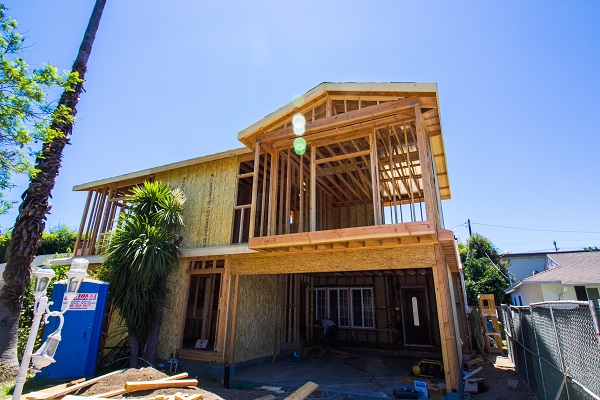
Room Additions
Room additions are a great way to increase the visual appearance, functionality and value of your home.
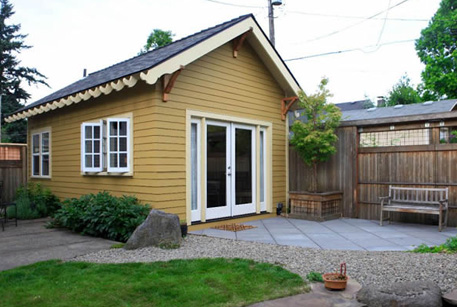
Accessory Dwelling Units
ADU’s are a smaller independent residential unit located on the same lot as a stand alone home. Separate address, full kitchen, legal to rent.
Step By Step
Design & Blueprints
Design & Blueprints (clients already in position of permitted plans will skip items 2-4 of this section)
- On site meeting to measure the existing property (lot, house, other structures), and discuss homeowner’s needs.
- Draft “As-Built” (existing), and optional proposed floor plans.
- Complete architectural & structural design.
- Permit Processing.
Site Preparation and Demolition
Site preparation
- Provide portable toilet unit and service, during the course of construction.
- Provide Temporary fence surrounding the new addition area.
- Relocate lawn-sprinklers as needed to around the new addition.
Demolition, Hauling, Cleanup
- Selective demo: Stucco walls, windows & doors, brick planters, concrete, and all other components per plan.
- Haul away all debris, and comply with City of Huntington Beach disposal requirements.
- Remove lawn, Trees, and other landscaping in the perimeter of the new addition.
- Remove existing doors & windows and sill up the openings (framing & drywall).
Underground Plumbing, Foundation and Grading
Underground plumbing (drain)
- Trench & locate the existing sewer.
- Relocate the main water-supply to the front (location to be coordinated with the homeowner).
- Trench per new bathroom layout all new drain locations.
- Install new ABS drain under new addition footprint.
- Top-out test.
- Schedule and pass City inspection.
- Cover trenches and compact dirt.
Foundation and Grading
- Grade the area, as required, for the new addition slab to level with the existing house.
- Excavate footings and dispose of any access dirt.
- Install forms, rebar, and other foundation related hardware.
- Call for city inspection and meet the inspector on site. Comply with any corrections.
- Pour in place Concrete footings and slab.
- Concrete washout, shall be contained and disposed of off-site, via self-containment or into a dumpster.
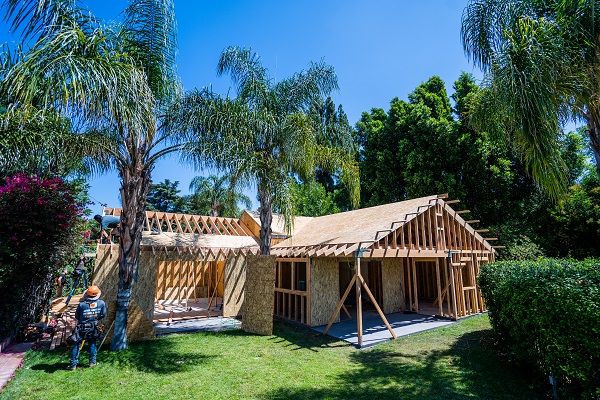
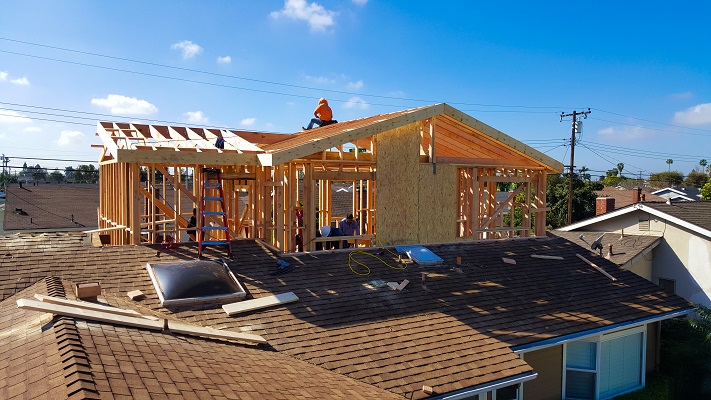
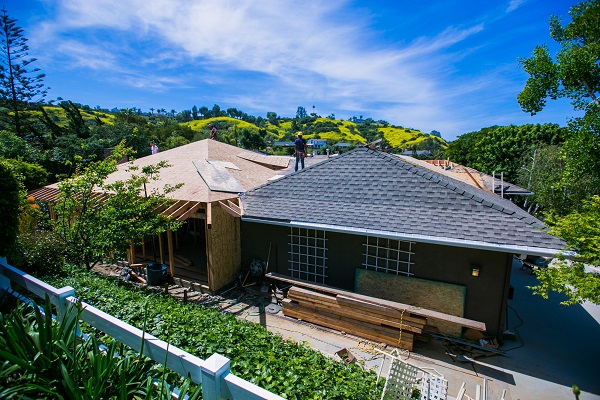
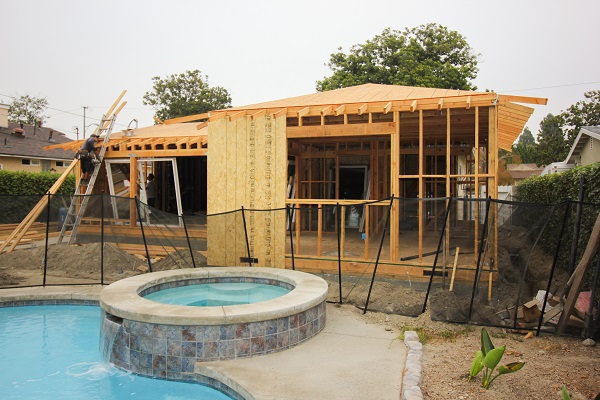
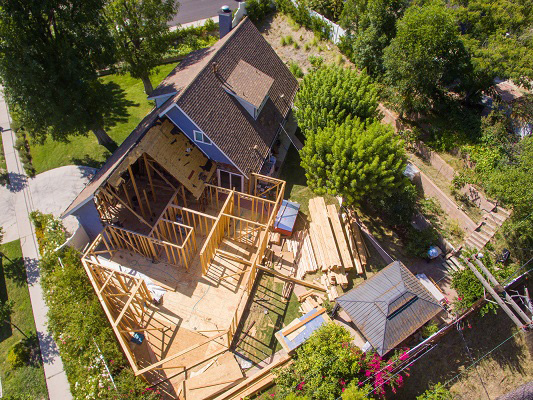
Framing and Roofing
Framing
- Frame all new walls, ceilings, and roof members per plans.
- All lumber and hardware including: posts, beams, joists, studs, plywood sheathing.
- T & G planks at eaves ceiling.
- Frame all window and door openings per manufacturer requirements.
- Call for city framing inspection and meet the inspector on site. Comply with any corrections.
Roofing
- Install plywood roof sheathing, roofing felt paper and call for city inspection.
- Install new asphalt shingle roofing material (to match as close as possible the existing) over the addition per plan and per building code.
- Furnish and install pre-finished edge metal and vent and penetration roof jacks.
Rough Mechanical, Electrical, Plumbing, Doors, Windows and Insulation
Rough Mechanical, Electrical and Plumbing
- Install one dustless “Furnace” (heat only) unit in the new addition.
- Install new bathroom exhaust fan supplied by the home owner (must have a built-in humidity sensor).
- Provide new hot and cold water lines to the new bathroom.
- Install new shower-valve (provided by the homeowner).
- Extend the new ABS drain-vents to the roof.
- Provide new “homerun” circuits to the existing electrical main panel.
- New wiring and rough boxes of new outlets, dimmers, and switches.
- Furnish and install recessed LED light fixtures per plan.
- Call for city “MEPS” inspections and meet the inspector on site. Comply with any corrections.
Doors and Windows
- Install 3 new Milgard “Tuscany” vinyl windows.
- Install 3 new interior doors (“6-panel” style).
- Install new “6-panel” style solid entry-door ($200 allowance).
Doors and Windows
- Insulate walls and ceiling per plans and T24 requirements.
- Insulate the interior wall between the existing home and the new addition for noise reduction.
- Call for city inspection and meet the inspector on site. Comply with any corrections.
Drywall hanging and exterior, Taping, Stucco applications, Interior and Exterior Paint
Drywall hanging/nailing & exterior-Lath
- Hang 5/8″ drywall
- Install building paper & wire per code.
- Call for city nailing inspection and meet the inspector on site. Comply with any corrections.
Drywall taping, Stucco applications
- Tape drywall and finish smooth or texture per homeowner’s choice.
- Apply 3 layers of stucco (final color coat per homeowner’s color selection).
“Rough Only” clients stop here. Following steps for “Turn-Key” clients only.
Tiles, Accessories, Fixtures, Finishes, Final Cleanup and Inspection
All finish materials to be supplied by the homeowners: Flooring, Bathroom & kitchen fixtures, accessories, appliances, moldings, cabinets, counters, tile, shower doors, fans, chandeliers, mirrors, etc.
Interior and exterior paint (new addition and existing areas affected by the project only).
- Prime and paint new drywall, and exterior trim.
- Homeowner to select colors.
Finish work and Final
- Shower hot-map, and cement shower walls.
- Install bathroom tile and shower door (provided by homeowner).
- Install bathroom & kitchen accessories and plumbing fixtures.
- Install kitchen cabinets, counter, and appliances.
- Install closet pre-fabricated cabinets.
- Electrical finish work (lights, switches, smoke detectors).
- Flooring & baseboards.
- Moldings, doors & windows casements.
- Final cleanup.
- Call for city final inspection and met the inspector on site. Comply with any corrections.
Ready to Start Your Project?
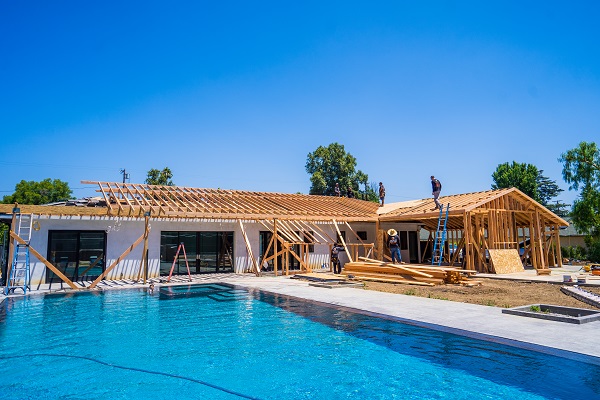
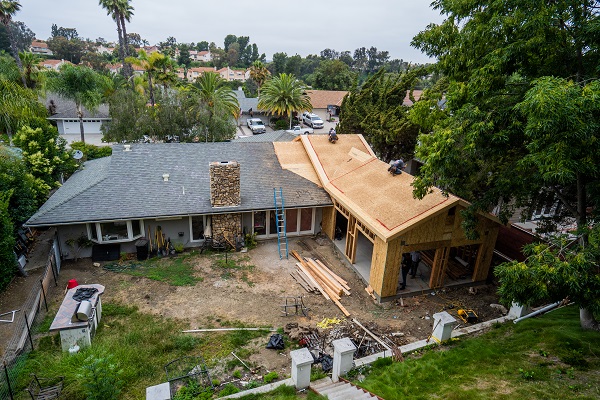
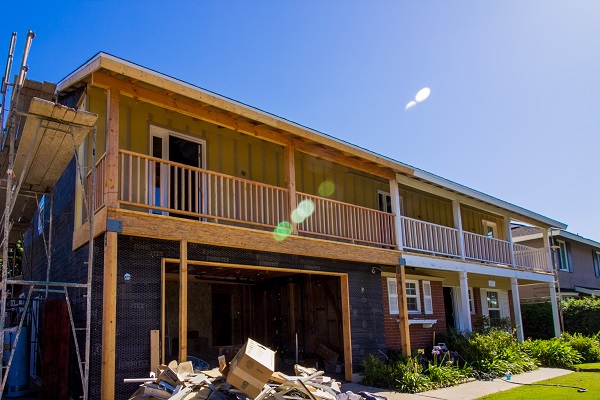
Recent Projects
See some of some of the projects we’ve recently completed.
About Orange Innovation
Our customer is KING/QUEEN policy kept us going word to mouth since 2004! We take pride in our work. Out trade-specialty crews, quality materials, and efficient building process.
This is the house of up front communication, Transparency, and customer is king! We are repeatedly complemented about our high standards by our customers, their neighbors, and city-inspectors.
We value originality, clean and safe sites, love to planet earth, and constant room for improvement.
See what past clients had to say about working with us

The quality of workmanship was exceptional and my neighbors have already commented on how well the design and finishes blended well into our neighborhood. The finished product all around is fantastic.
– Michael K, Orange County, CA

Two things that I find being the most helpful about Sam are his level of commitment in communication and being responsible for the quality of him and his crew’s work. He communicates by text, phone, and email.
– Scott C, Orange County, CA
Our process and project management system
As we work together to build your dream project, our goal is to set clear expectations and make sure you know what’s happening each step of the way. Our project management system was structured to give you a high-level overview and updates on the status of the project. It also clearly outlines the tasks that our team is responsible for with assigned due dates, and anything we might need from you to help make sure the project runs as smoothly as possible.